
HOW TO FIX DULL, SCRATCHED, DRY FLOORS, CLOUDY STAINS, AND DARK PET MARKS AT HOME
A practical way to diagnose the problem before spending $5,000 on sanding and refinishing.
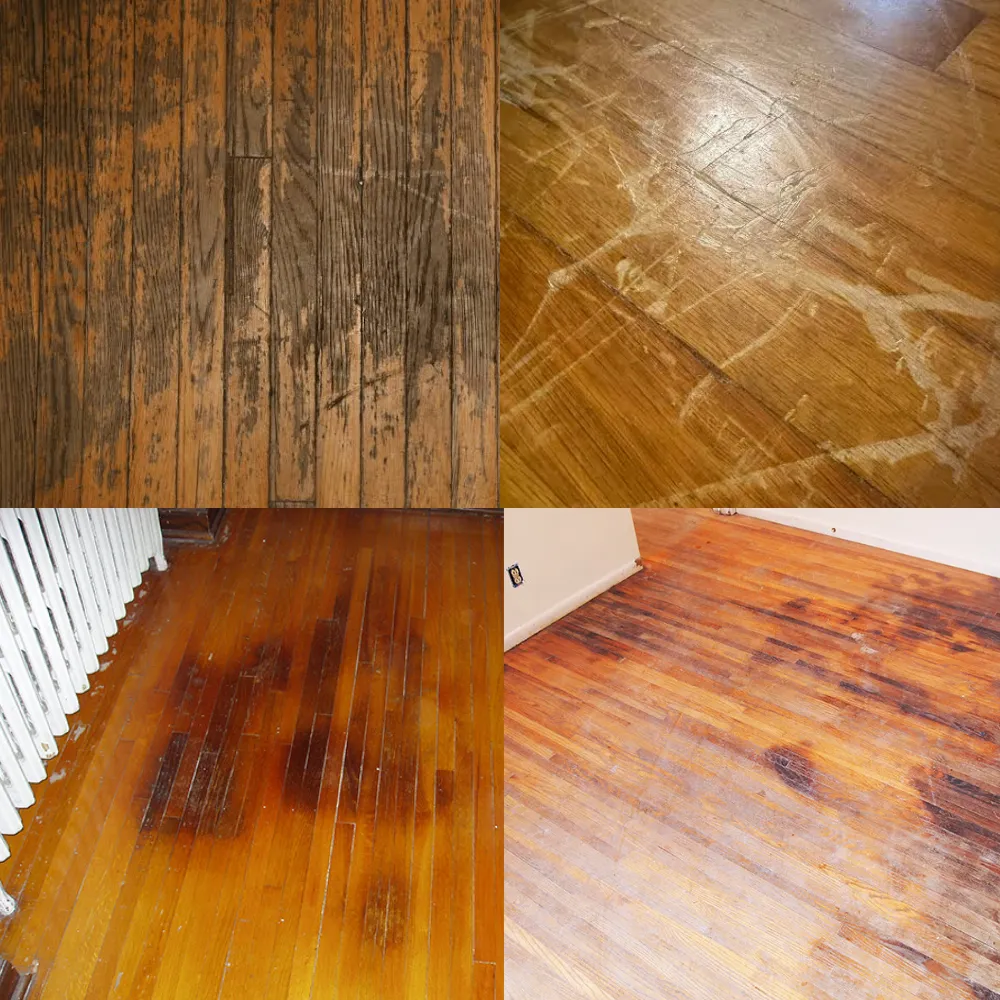

When clients call me about a hardwood floor, they rarely say, “The finish is wearing unevenly.”
They say,
“My floor looks dirty no matter how much I clean it.”
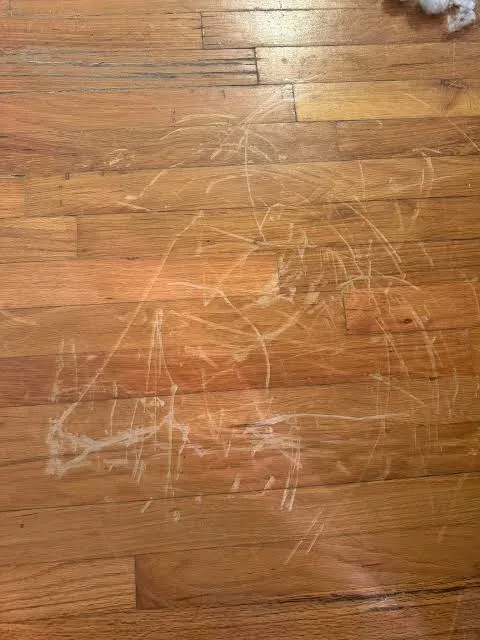
“I have scratches everywhere.”
“The dog had an accident and now there is a dark mark I cannot stop staring at.”
Then comes the expensive question.
“Do I have to refinish the whole thing?”
I understand why people panic.
A tired hardwood floor makes the whole house look worn, even when everything else is clean.
And many people have already tried to solve it.
They have scrubbed it. Buffed it. Used a spray cleaner. Added a polish. Tried a scratch fix. Then bought something to remove the product they tried before.
One of the most common calls is from someone whose floor looked better for a day, then turned cloudy, streaky, or full of footprints after the next mop. The person is not looking for another miracle bottle. They are afraid of making the problem worse.
I also hear from homeowners who cannot afford sanding and refinishing right now. They are not demanding a brand-new floor. They want their home to look cared for while they decide when, or whether, a larger project makes sense.
Some people try sanding it themselves to save money. Fair enough. But one broken rental sander or one bad pass around the edges can turn a weekend project into more marks on the floor.
The hard part is this.
A scratched floor, a cloudy floor, a dark stain, and a warped floor can all look like “damage.”
They are the same problem.
So, why do floors get stuck like this?
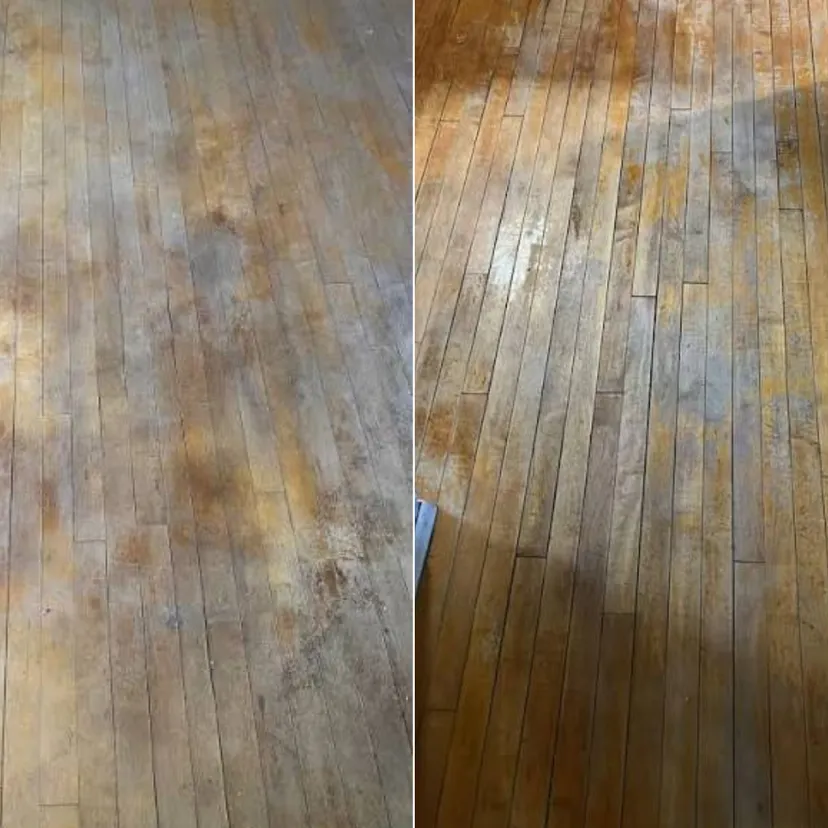
Most of the time, it starts with a worn finish.
After the finish wears away, the floor can look dry and uneven no matter how much you clean it.
That finish is what gives hardwood its depth, color, and even sheen. When it wears down, the whole floor can start looking old, dry, scratched, and stained, even when the wood underneath is still solid.
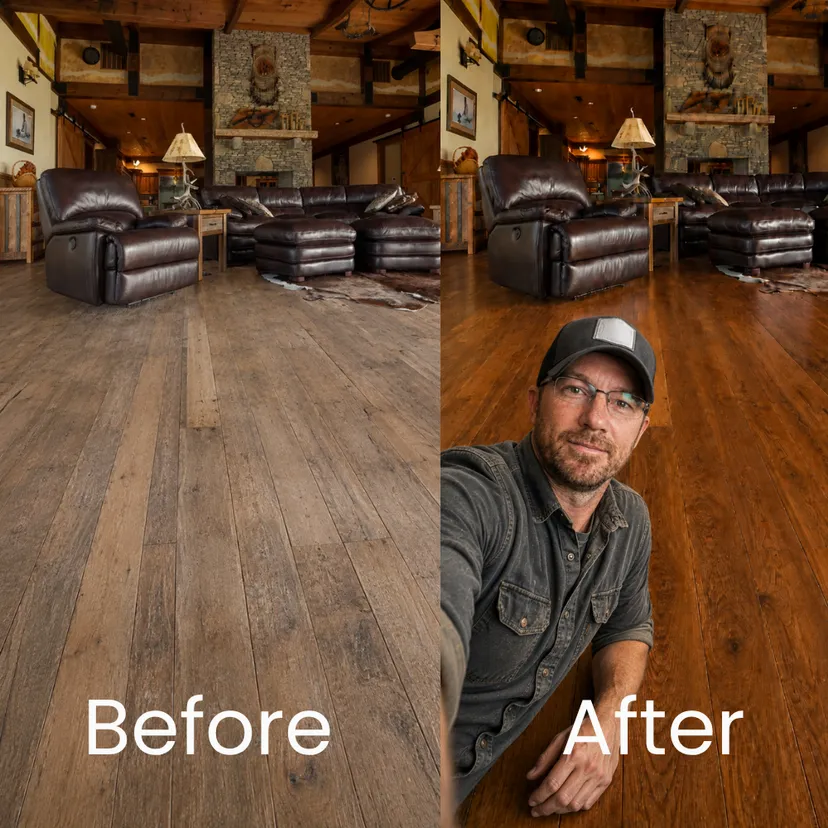
No sanding. No full refinish. Under $50. Want to guess how I brought it back? Keep reading. I’ll show you exactly what I used.
And once the floor looks that bad, most people assume the wood itself must be the problem.
That is when the sanding conversation starts.
My client looks down at one scratch and asks,
“So I need to sand it?”
Not yet.
Then they show me a scuff in the hallway.
“This needs sanding too, right?”
Probably not.
Then they point at that dull path everyone walks through.
“Sanding?”
And I’m thinking, “Man, why is sanding getting blamed for everything today?”
Then they show me a dark mark where the dog had an accident.
“Do I just sand the whole floor?”
And I’m like, “Whoa. You really want to spend five grand before we even know what that mark is?”
I’m not here to turn every scratch, scuff, or stain into a full refinishing job.
I’m here to help you fix the actual problem for the lowest cost that makes sense.
These are different problems.
And that is the part people miss.
A floor can look beat up because the finish is worn.
It can also have real surface damage.
Those are the same thing.
The finish is usually the first thing to go. Foot traffic wears it down. Fine scratches catch the light. Scuffs break up the sheen. The busy parts of the house start looking dry and flat.
The wood underneath can still be solid.
That is why I check the boards before I ever talk about sanding. If the wood is solid and the damage is only on the surface, that changes the whole conversation.
A fine scratch is usually a visual problem.
A deep surface gouge is a different conversation.
If the board is stable and the damage is only at the surface, the floor can often be restored without pulling a full sanding job.
The real problem happens below the surface. When the boards are loose, rotting, soft, cupped, warped, or full of moisture, that is not a towel-and-polish job. That is a repair project.
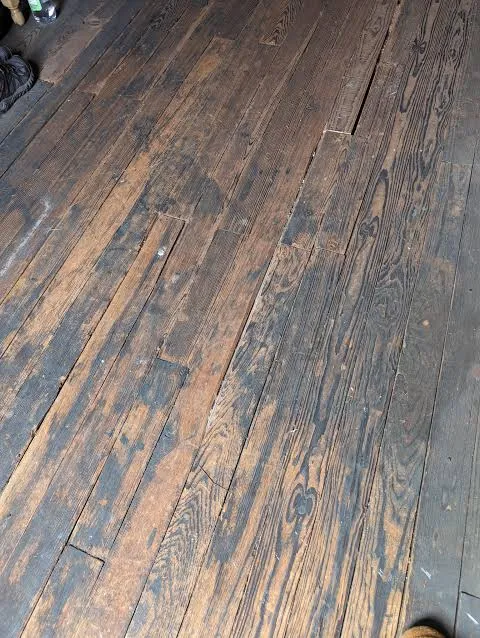
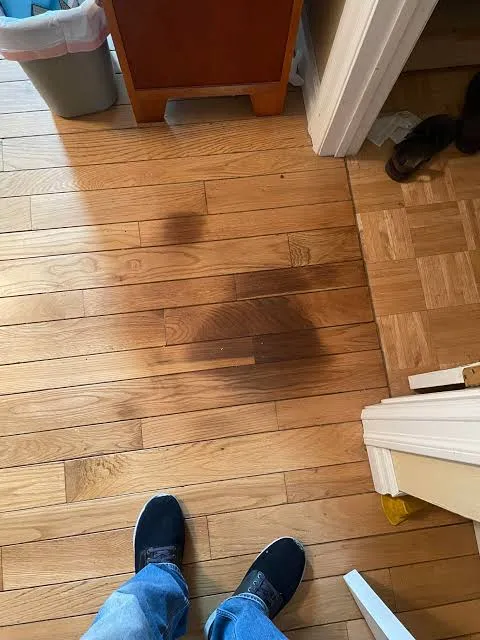
Why does my floor still look dirty after I clean it?
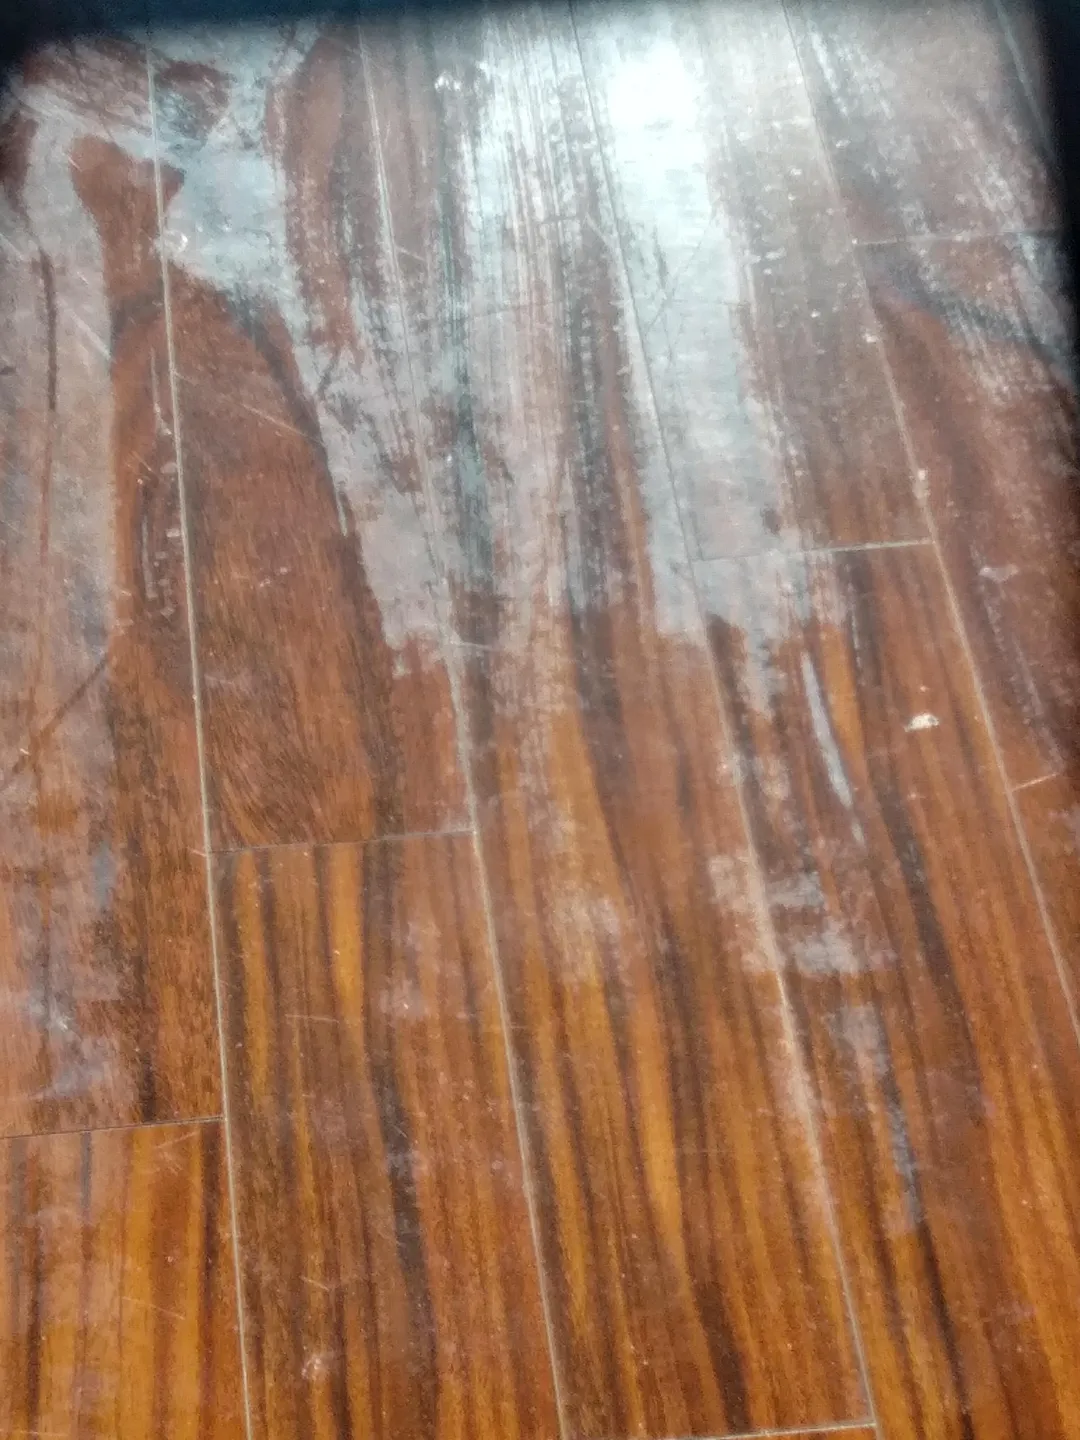
Sometimes the problem is dirt.
Sometimes the floor has a tired finish.
Sometimes a prior treatment is sitting on the surface, turning cloudy, collecting grime, or showing every footprint and paw print.
That is why repeated cleaning can feel pointless. The homeowner is cleaning the same surface again and again, but the issue may be the film, residue, or incompatible treatment already on top.
It is also why a glossy day-one result is not enough. If a product leaves a layer that looks cloudy after mopping or becomes difficult to remove, the original problem has not been solved. It has been covered temporarily.
I love my dog, but I can’t live with these stains
I hear that one a lot.
And the first thing I tell people is: a dark pet stain does not automatically mean the floor is ruined.
Sometimes the finish is worn, moisture reaches the wood, and the area turns dark or dull. If the floor is dry, stable, and only surface damage is present, that is a cosmetic-restoration conversation.
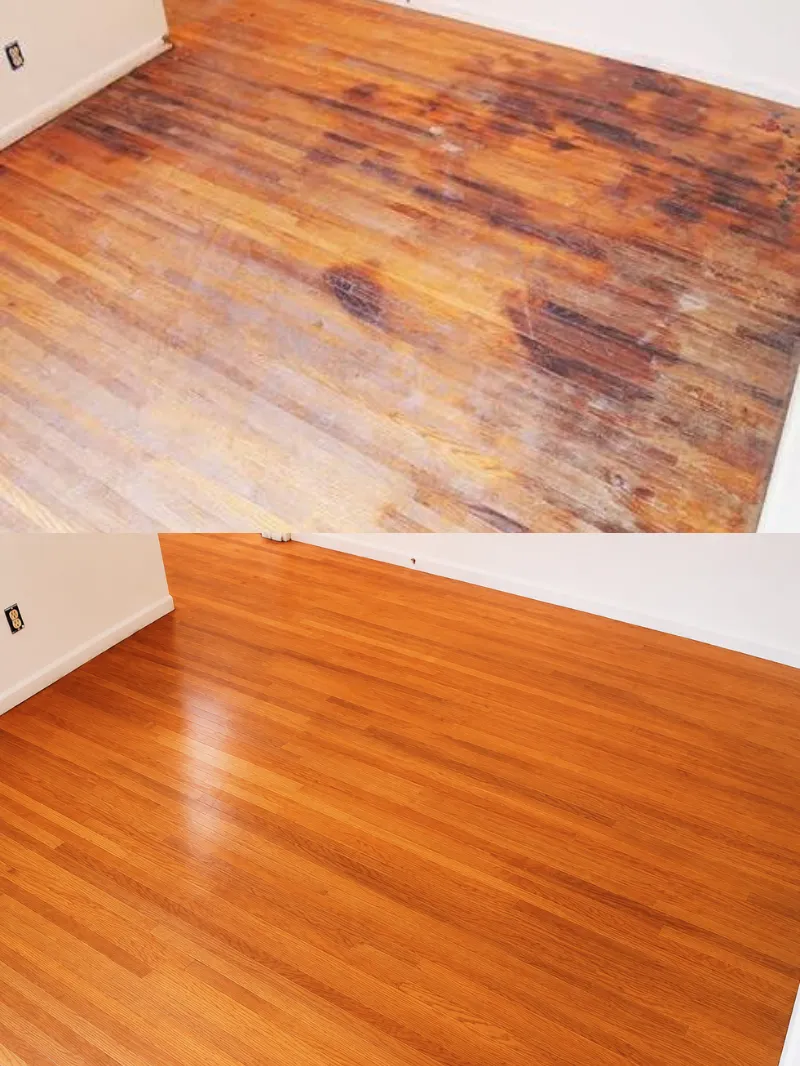
It doesn’t.
The right restoration method can bring it back — and save you thousands.
That is where a product like Blyne Floor Restorer & Polish can help. It is designed to blend darkened, worn-looking areas toward the surrounding floor tone, restore visual depth, and leave a protective polyurethane finish over the surface.
But check the floor before you treat it.
If the boards are still wet, cupped, warped, soft, or pulling apart, you are not dealing with a stain alone. You are dealing with moisture damage.
Fix the moisture first.
Then decide what the floor needs next.
Alright. I’ve just listed the floor problems that make most of my clients think they need to pay me for a full refinishing job.
The funny part?
A lot of them can fix those problems at home. (But you’re in the U.S. If there’s a way to turn one scratch into a whole project, somebody has already made a quote for it. And the simple fixes? Those do not get advertised much. Bad for business.)
So let’s talk about them.
How to Fix Scratches, Scuffs, Surface Gouges, Dents, and Worn Traffic Paths
Let’s start with the thing everybody tries first.
The walnut trick.
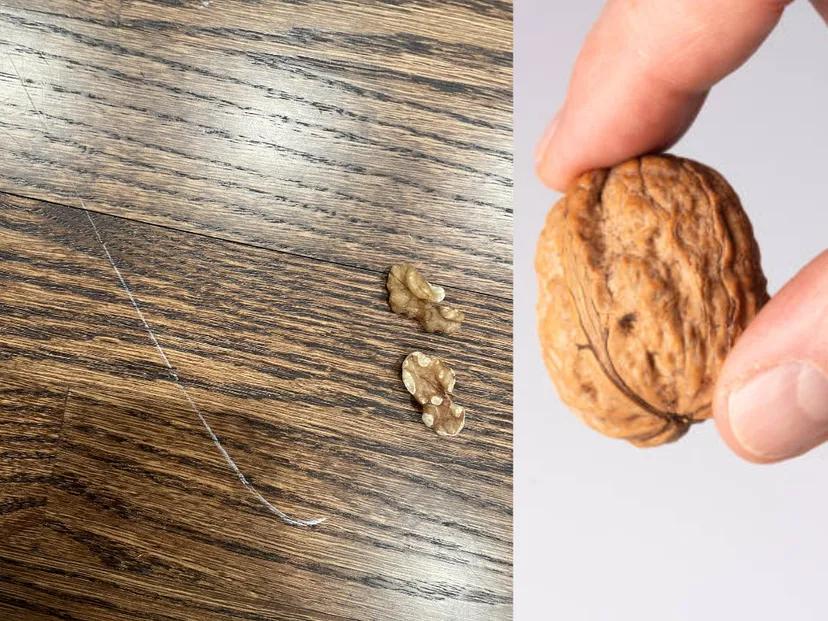
You rub the meat of a walnut into a small scratch. The oil and pulp may darken the line, so it catches less light.
For one tiny scratch under a chair? Sure. It may make the mark less obvious.
But it is a touch-up. Not a floor restoration.
It can hide one scratch a little better. It cannot bring back the worn finish, dry traffic paths, uneven sheen, or protection the rest of the floor still needs.
And people disagree on how long it lasts. Some say the mark stays hidden after cleaning. Others say it comes back after the next mop.
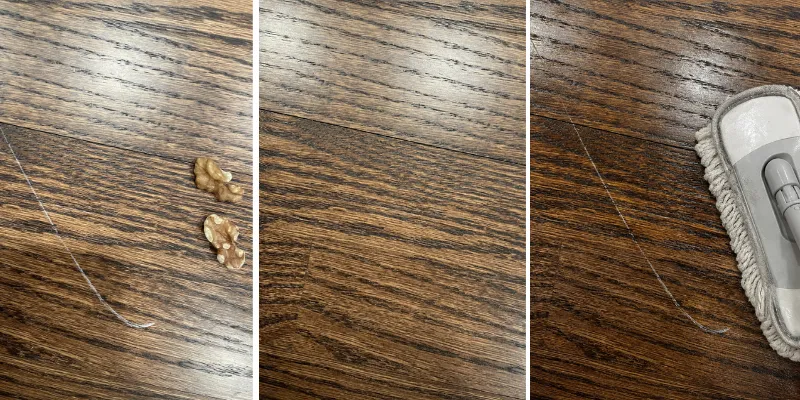
Fair enough. It is oil and pulp rubbed into one scratch.
Not a rebuilt floor finish.
Now, that does not mean every scratch needs sanding.
That is where people get expensive too fast.
Sanding is a reset.
You remove part of the existing surface, get below the damage, then rebuild the finish.
Sometimes that is exactly what the floor needs.
But if the boards are stable and the problem is still at the surface, I do not start with the biggest job in the house.
I look at what the floor actually needs first.
Fine scratches. Scuffs. A dull traffic path. Uneven sheen. Surface-level dents. Even a deep surface gouge. Those can all make a floor look tired, but they are not automatically structural damage.
For problems like that, you do not automatically need sanding.
You need a proper floor restorer.
I recorded the full restoration of a 100+ year-old, 1,500 sq ft hardwood floor. The total cost was under $80, using only two bottles of Blyne Floor Restorer.
There are plenty of restorers on the market. Just be careful. Some give you a nice shine for a day, then turn cloudy, streaky, or show every footprint after the next mop.
And some call themselves polyurethane when they are really just temporary polish in a nicer bottle.
After 20 years doing this, the one I use is Blyne Floor Restorer & Polish.
It settles into dry, worn areas and helps fill fine scratches, scuffs, surface-level dents, and deep surface gouges.
Then it brings back some visual depth and shine across the area, not just inside one scratch.
Finally, it cures into a polyurethane protective layer over the surface.
That is the difference.
You can check the link here if you want to try it. (I am not affiliated with them.)
How to Deal With a Dark Pet Stain
First, check the floor.
If it is wet, soft, swollen, cupped, warped, or pulling apart, stop.
That is moisture damage.
Do not put cleaner or restorer over it and hope for the best. Fix the moisture problem first.
If the floor is dry and stable, but the stain is dark and the room still smells, start with Mr. Oakly.
That is the cleaner-treatment step.
Mr. Oakly is designed for wood floors and gradual treatment of dark pet stains that have worked into the wood. It also targets odor-causing pet-urine residue, instead of just putting a stronger smell on top.
Use it consistently. A stain that sat in the wood for months or years is not going to disappear after one mop.
Then let the floor dry and look at it again.
Its still looks dark, dull, scratched, or uneven after cleaning, use Blyne Floor Restorer & Polish too.
That is the restoration step.
Blyne Floor Restorer & Polish helps blend the darkened area toward the surrounding floor tone. It restores visual depth, helps smooth the worn-looking surface, and leaves a solid protective layer over it.
That protective layer helps reduce future odor release from compatible surface and near-surface pet-stain residue.
Mr. Oakly helps deal with the stain and residue.
Blyne helps restore and seal what the stain left behind.
Different jobs.
Better result when you do them in that order.
Neither product is for active moisture, contamination in the subfloor or other layers underneath, loose boards, crumbling material, major warping, or missing veneer.
That is a repair problem.
Join the discussion
20 commentsI bought our 1990s oak floor from the previous owners, along with every scratch their dining chairs had made. We kept saying we would refinish once the kids were older, then another year went by. The hallway was the worst: gray down the middle, fine white scratches everywhere, and it never looked clean after mopping. I used Blyne on a closet-sized test patch first because I was scared of making the whole hall shiny in a bad way. The color looked more connected and the small scratches stopped catching my eye. It did not erase the deeper gouges by the door, and prep took longer than I expected, but the floor finally looked cared for rather than neglected.
Six years of trying to keep our hardwood clean turned into a weird cycle where the cloth kept coming up dark after I had just mopped. I thought the answer was another cleaner, then another polish, then something stronger. It was not dirt. It was buildup from things I thought were protecting the floor. Removing it was slow, messy, and involved more hands-and-knees work than I want to admit. Once the surface was actually clean, I tested Blyne in the dining room instead of coating everything. That was the first time I understood the difference between putting shine on top and restoring a worn-looking finish. I would never put it over mystery residue, though.
We were supposed to list the house in a week when a cleaner dragged a bed support across the bedroom. I was furious, mostly because the scratch ran almost six feet and I had no idea whether sanding one strip would make the rest look worse. We had a floor person look at it and were told the splintered part needed real attention. For the surrounding dry, scuffed area, I tried Blyne after a very small test. It softened the broad white scuffing enough that the room photographed better, but I did not pretend the deep line was gone. That distinction saved us from doing something reckless under deadline.
I learned the hard way that a rental sander can turn into an entire weekend. Mine quit close to the end, the replacement left circles, and I spent twice as long trying to blend them out. The floor was better eventually, but I would not call it a simple DIY job. A year later, the traffic path outside the kitchen was dull again, not structurally damaged, just tired-looking. This time I cleaned thoroughly and used Blyne on one small area. It was a much more manageable job. I still would not use it on loose boards, swelling, or anything that feels soft underfoot. But for ordinary wear, it made the room feel less like a construction project.
Can Blyne go over a floor that turns cloudy after mopping, or does that mean I have to remove whatever is already there first?
I would identify the old layer first. Mine was residue, not a dry finish. I cleaned that up before I tested anything new.
Our dog spot is dry but gets smelly when the room is humid. Clean first, then Blyne, or the other way around?
Clean and let it dry fully first. I used Blyne only after the boards were dry and stable, for the worn appearance left around the old spot.
Would you try a restorer before refinishing a 120-year-old floor, or is that just delaying the inevitable?
For stable boards with surface wear, a test patch can be sensible. Mine was never going to look new. It just stopped looking abandoned.
My maple dents from toy bins and even a TV remote. Can Blyne make the wood harder?
No finish changes the wood itself. It helped our little surface marks look less chalky, but felt pads did more to prevent new dents.
How clean is clean enough before using it? Vacuum and mop, or do you need a whole day of prep?
I vacuumed, cleaned, and waited until it was completely dry. Prep was the boring part, but it kept my test patch even.
Would this help a gouge that catches your sock?
I would get that assessed. Blyne helped the surrounding scuffs on mine, not the splintered groove itself.
We move out next month and found shallow dents under the bed. Is a small repair worth doing before the walkthrough?
Photograph everything first. We were charged after a walkthrough for mild marks nobody mentioned at the time.
Can I use it on one worn traffic lane without doing the entire room?
I tested a small section first. It blended the tired-looking path better, but I still worked across a natural board boundary.
My floor is dull, but one board is cupped at the edge. Is that a finish issue?
Cupping can mean moisture trouble. I would solve that before putting anything over it.
I used Blyne on the dull strip by our back door after cleaning it properly. The finish looked more even and the little scratches blended better. It did not change the one actual dent, which was fair enough.
The walnut trick helped one scratch under a chair. It was not a plan for an entire gray hallway. Blyne made more sense once I stopped treating a worn finish like a collection of individual scratches.
I like that the page does not say every floor needs the same fix. We used Blyne in a stable, worn room and called someone for the soft, swollen area near the dishwasher.
Our floors looked better after a small Blyne test, mostly because the dry patches stopped looking disconnected. I would do it again, but I would buy an extra mop pad. Mine was not worth saving afterward.
I cannot afford a full refinish right now. A careful cleanup and a small test bought us time without pretending the old floors were brand new.
Has anyone used Blyne on dark hardwood? My last polish looked good for one night, then showed every footprint.
Dark wood is unforgiving. I used a thin, even test section after cleaning and let it cure fully. It helped with the worn look, but I would not rush the prep.